Apple Cider, Apple Crisp, Apple Pie oh my! I love the fall season for decorating and baking. Two of my favorite things. Wait I forgot caramel apples and apple Betty but I digress.
So let's get started by decorating with apples. Using real or fake apples is a cheap and easy way to get started. Fill up a basket and turn it on it's side with the apples scattered or as shown here.


So let's get started by decorating with apples. Using real or fake apples is a cheap and easy way to get started. Fill up a basket and turn it on it's side with the apples scattered or as shown here.

Hay bales are great for fall displays. Here is a tip (Keep them wrapped in their packaging). You can use them year after year and they won't make a mess. Plus my pets would try and eat any pieces that fell on the ground. Take our apple cider mug and apple heart boxes along with our hot apple cider sign. This will go well together.

These key pieces are an affordable way to add some charm.
What a fun display for a Halloween party or gathering this Fall. You could bob for apples, have an apple dessert bar with cut up apples, chocolate sauce, chopped peanuts, chocolate chips etc. Have popcorn balls and candy corn, and don't forget the baked goods I mentioned. (wink wink!)
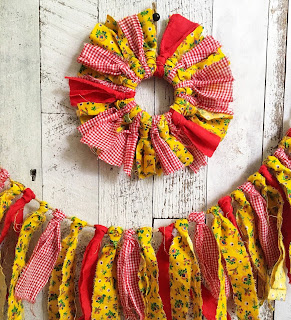
Stack hay bales outside and set up a photo prop with our gingham country rag garland.

The table setting could have red bandannas tied together to make a runner. Simply tie each end together to fit the length of your table. An apple could be at each place setting.
I hope you found some new and creative ideas for your Fall decor. Be sure to visit my shop to see all of my rustic, handmade home decor.
Great ideas 💡
ReplyDelete